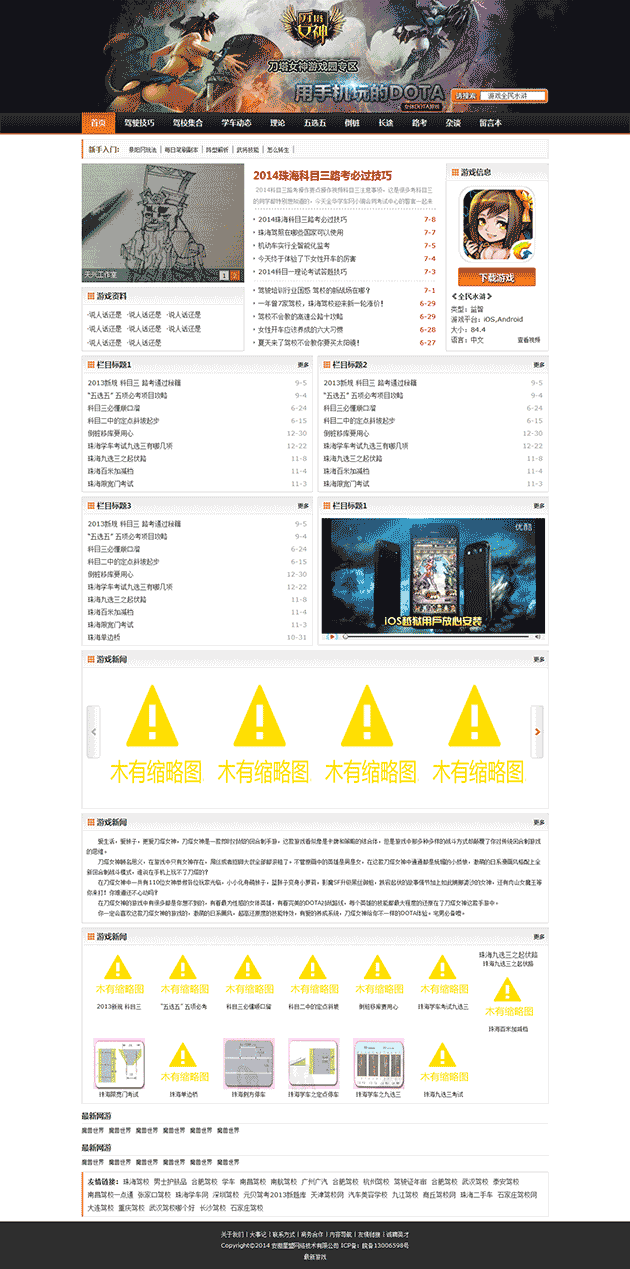
最近在给一个客户做一个zblog模板的时候需要用到一个页面中多处使用tab切换特效,做完后把代码整理了下,如果你也正好有此需求,直接复制代码即可。
tab切换js代码 一个页面可多处使用--js代码部分:
<script>
var fgm = {
 $: function(id) {
  return typeof id === "object" ? id : document.getElementById(id);
 },
 $$: function(tagName, oParent) {
  return (oParent || document).getElementsByTagName(tagName);
 },
 $$$: function(className, element, tagName) {
  var i = 0, aClass = [], reClass = new RegExp("(^|\\s)" + className + "(\\s|$)"), aElement = fgm.$$(tagName || "*", element || document);
  for (i = 0; i < aElement.length; i++) reClass.test(aElement[i].className) && aClass.push(aElement[i]);
  return aClass;
 },
 index: function(element) {
  var aChildren = element.parentNode.children, i;
  for(i = 0; i < aChildren.length; i++) if(aChildren[i] === element) return i;
  return -1;
 },
 on: function(element, type, handler) {
  return element.addEventListener ? element.addEventListener(type, handler, !1) : element.attachEvent("on" + type, handler);
 },
 bind: function(object, handler) {
  return function() {
   return handler.apply(object, arguments);
  };
 }
};
function Tab(id) {
 var that = this;
 this.obj = fgm.$(id);
 this.oTab = fgm.$$$("tab", this.obj)[0];
 this.aTab = fgm.$$("li", this.oTab);
 this.oSwitch = fgm.$$$("switchBtn", this.oTab)[0];
 this.oPrev = fgm.$$("a", this.oSwitch)[0];
 this.oNext = fgm.$$("a", this.oSwitch)[1];
 this.aItems = fgm.$$$("items", this.obj);
 this.iNow = 0;
 fgm.on(this.oSwitch, "click", fgm.bind(this, this.fnClick));
 fgm.on(this.oTab, "click", fgm.bind(this, this.fnMouseOver));
}
Tab.prototype = {
 fnMouseOver: function(ev) {
  var oEv = ev || event,
  oTarget = oEv.target || oEv.srcElement;
  oTarget.tagName.toUpperCase() === "LI" && (this.iNow = fgm.index(oTarget));
  this.fnSwitch();
 },
 fnClick: function(ev) {
  var oEv = ev || event,
  oTarget = oEv.target || oEv.srcElement,
  i;
  switch(fgm.index(oTarget)) {
   case 0:
    if(oTarget.className == "prev") {
     this.aTab[this.iNow].style.display = "block";
     this.iNow--;
    };
    break;
   case 1:
    if(oTarget.className == "next") {
     for(i = 0; i < this.iNow; i++) this.aTab[i].style.display = "none";
     this.iNow++;
    };
    break;
  };
  this.aTab[this.iNow].style.display = "block";
  this.fnSwitch();
 },
 fnSwitch: function() {
  for(var i = 0; i < this.aTab.length; i++) (this.aTab[i].className = "", this.aItems[i].style.display = "none");
  this.aTab[this.iNow].className = "current";
  this.aItems[this.iNow].style.display = "block";
  this.oPrev.className = this.iNow == 0 ? "prevNot" : "prev";
  this.oNext.className = this.iNow == this.aTab.length - 1 ? "nextNot" : "next";
 }
};
//应用
fgm.on(window, "load", function() {
 var aItem = fgm.$$$("item"),
 i = 0;
 for(; i < aItem.length; i++) new Tab(aItem[i]);
});
</script>
注意,此js代码需要放在页面的</head>之前。
tab切换js代码 一个页面可多处使用--html代码部分:
<div class="item">
            <div class="tab">
                <ul>
                    <li class="current">标题一</li>
                    <li>标题二</li>
                    <li>标题三</li>
                </ul>
                <span class="switchBtn"><a href="#" class="prevNot"></a><a href="#" class="next"></a></span>
            </div>
            <ul class="items" style="display:block;">
                <li><a href="#">列表标题</a></li>
                <li><a href="#">列表标题</a></li>
                <li><a href="#">列表标题</a></li>
                <li><a href="#">列表标题</a></li>
                <li><a href="#">列表标题</a></li>
            </ul>
<ul class="items">
                <li><a href="#">列表标题</a></li>
                <li><a href="#">列表标题</a></li>
                <li><a href="#">列表标题</a></li>
                <li><a href="#">列表标题</a></li>
                <li><a href="#">列表标题</a></li>

</ul>
            <ul class="items">
                <li><a href="#">列表标题</a></li>
                <li><a href="#">列表标题</a></li>
                <li><a href="#">列表标题</a></li>
                <li><a href="#">列表标题</a></li>
                <li><a href="#">列表标题</a></li>
            </ul>

        </div>
此html代码可以在页面多处位置使用不会冲突,可以给"<ul>"或者"<div>"添加id属性,以实现不同位置不同显示效果。css代码就不上,可以根据自己的具体需求慢慢调整的,希望对大家有用。
![天兴工作室自用主题[老版]使用说明](http://demo.txcstx.cn/zb_users/upload/2014/08/201408081407509603500032.png)
![天兴工作室自用主题[老版]使用说明](http://demo.txcstx.cn/zb_users/upload/2014/08/201408081407509638473260.png)


